A gene-genie
Mon, 22 June 2009 Filed in: iPhone apps
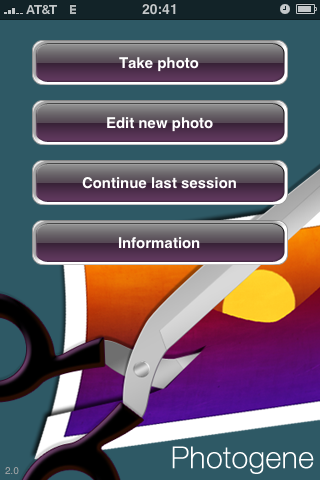
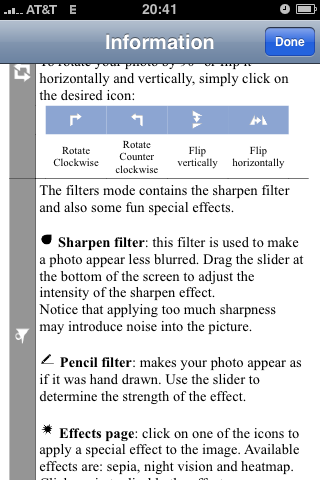
With 50,000+ apps in the App Store now, it is easy for good ones to get lost in the din. A good one that I heard about and subsequently tried is Photogene (apparently pronounced like “photo genie”) by Omer Shoor. Some have said, based on assumptions from the screenshots they’ve seen, that it is Photoshop for your phone. It is not, nor is it intended to be. It has a few features that are similar to features in Photoshop, but that is where the similarity ends. Photogene allows one to make common improvements to snapshot photos from the iPhone’s camera (some of which are potentially unnecessary with the 3G S’s new cam) and do fun things with them. When you first fire up the app, you have the choice to take a new picture, use an existing picture from your library, or continue your last editing session. The “Information” button takes you to the user’s manual.
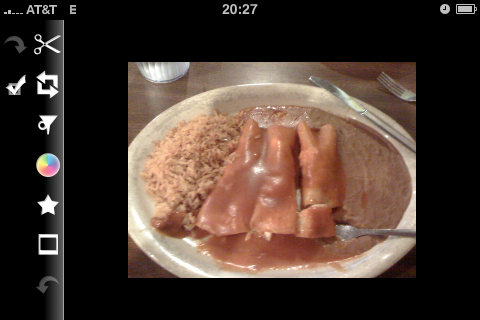
For this review, I’ll be using this picture of Enchiladas ál Carbón de Pollo.

Here, I chose the “Edit new photo” button and then selected the picture from my Camera Roll. Since it is a landscape-format image, I then rotated the phone for more usable area.

Here, I select the Levels tool, adjust the black point and gamma, then try the Auto button.
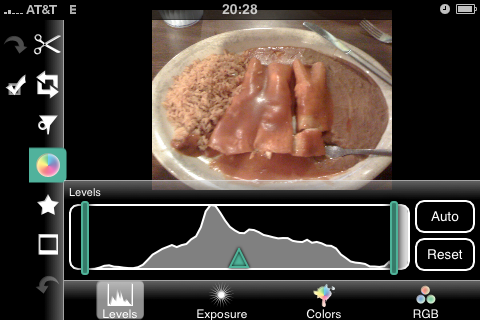
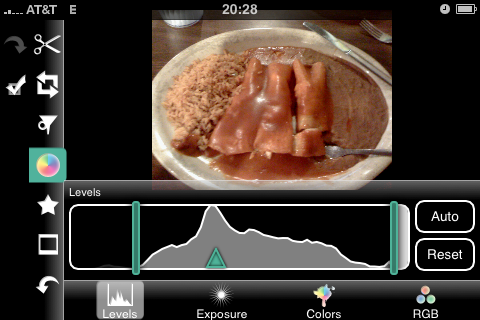
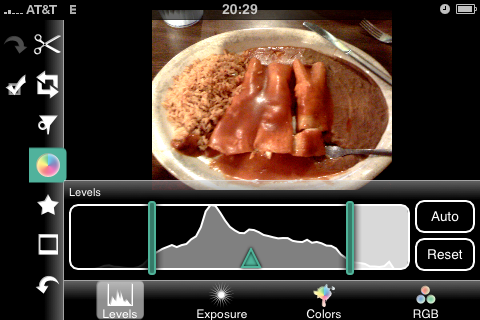
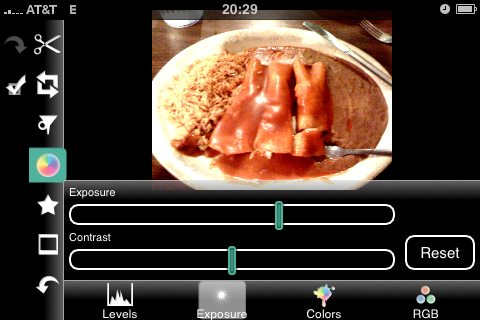
These controls work quite well and give live feedback. Then I played around with the exposure/contrast adjustments.
On the Colors tab, I desaturated the image to simulate black and white.
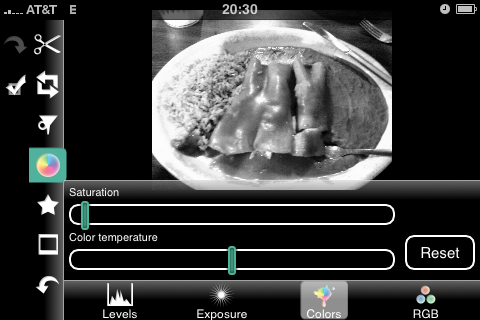
I found the desaturation result much better than that from Photoshop’s desaturation. The result was closer to what I would expect from Photoshop’s Black and White adjustment layer. Next up is the “Shape” tool.
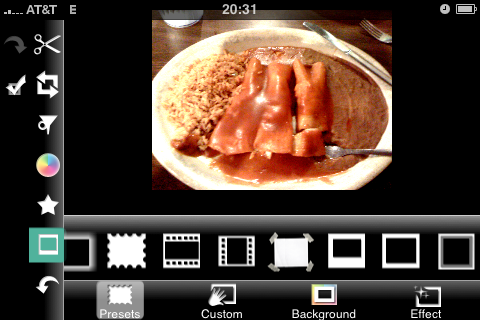
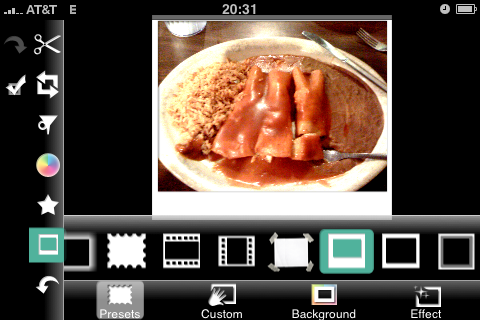
As you can see, it comes with quite a few preset shapes. I did not try the Custom, Background, or Effect tabs. Below you can see me using the frame that looks like a Polaroid photo.
Here, I’ve dragged an octagon onto the photo. You can see three drag handles in the corners and a delete button in the upper left. In the second shot, you’ll see I’ve manipulated the size and position of the shape.
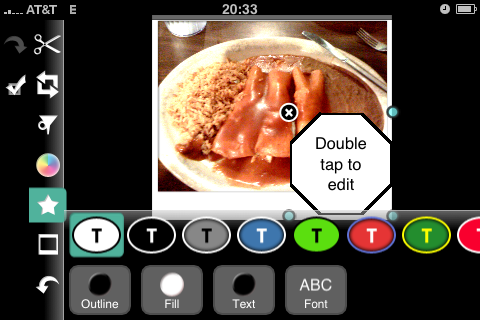
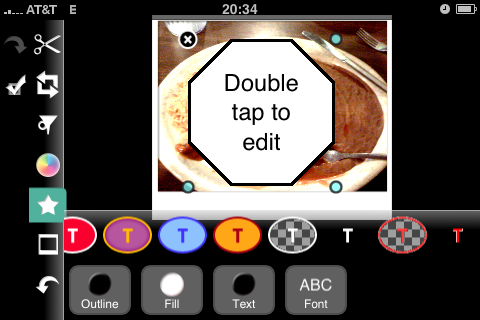
There is, of course, a sharpen filter. I found that it was hard to over-sharpen the image, which is good. Many of the app’s users will likely be inexperienced and thus prone to being a bit heavy-handed (or heavy-fingered, as the case may be). Note that I have also changed the color and opacity of the octagon shape.
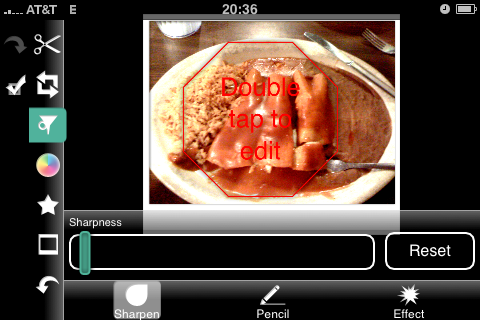
The Pencil filter gives the image the appearance of being drawn in pencil. The effect was not very interesting with our enchiladas, but probably would be with a more suitable source image. The Effect filter allows one to produce a sepia, color negative, or false-color image. The false-color effect is similar to what you would see from a thermal camera. (No effects applied in the photo below)
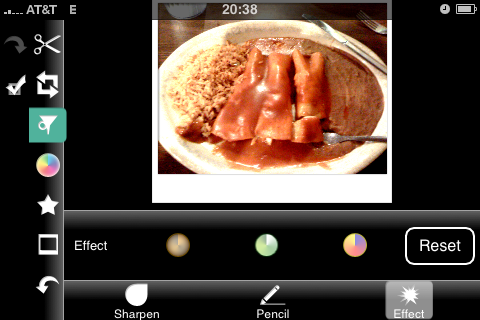
Moving on, this is the straighten tool. The straighten tool conveniently provides a grid for judging straightness and the rule-of-thirds intersection points. This is a nice touch.
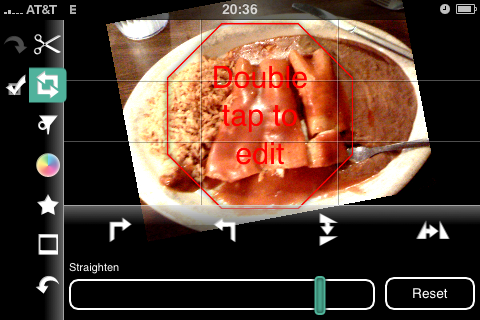
Cropping is an important feature in any image editor, and Photogene provides a crop tool. In the image below, I have selected the tool and am looking at the initial (default) crop area.
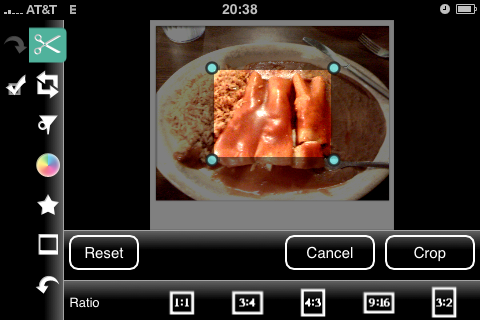
As you can see, there are presets for common aspect ratios. The following shot also shows the helpful rule-of-thirds grid and pixel dimension indicator. Those are both thoughtful features.
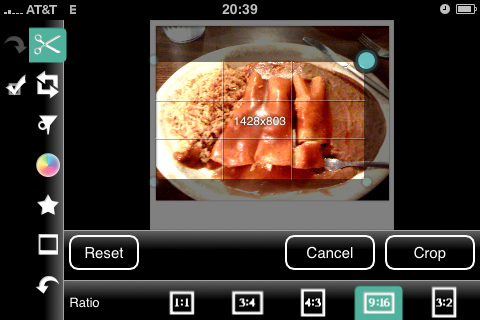
After canceling the crop operation, I tried a pinch gesture to see if the author had implemented zoom. Indeed, he had.
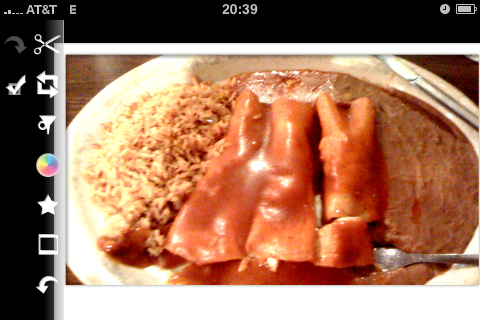
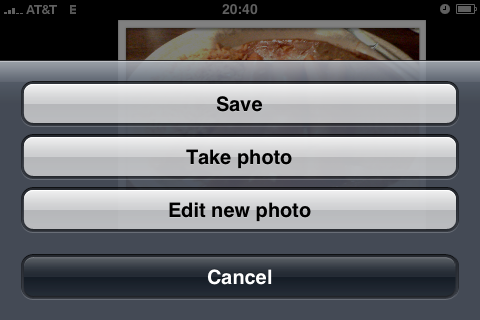
When you are done editing, touch the checkmark to bring up the save button.
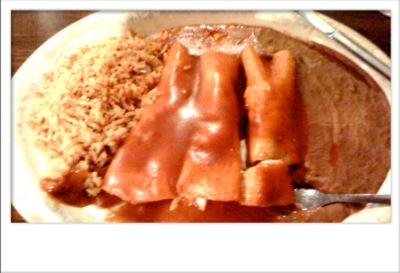
And here we are, the image as saved from Photogene (scaled to 25% to fit this screen).
My overall impression of Photogene is that it is surprisingly full-featured for a version 1.0 product that runs on a handheld device. I did not encounter any crashes or unexpected behavior. I found the crop and straighten icons a bit confusing, but usability was otherwise quite good. The app’s startup time is agonizingly long but, once running, responsiveness was good. I anticipate the author adding a few more features and tools as the app matures, but hopefully he will continue resisting the temptation to cram too many features into the product.


For this review, I’ll be using this picture of Enchiladas ál Carbón de Pollo.

Here, I chose the “Edit new photo” button and then selected the picture from my Camera Roll. Since it is a landscape-format image, I then rotated the phone for more usable area.


Here, I select the Levels tool, adjust the black point and gamma, then try the Auto button.


These controls work quite well and give live feedback. Then I played around with the exposure/contrast adjustments.

On the Colors tab, I desaturated the image to simulate black and white.

I found the desaturation result much better than that from Photoshop’s desaturation. The result was closer to what I would expect from Photoshop’s Black and White adjustment layer. Next up is the “Shape” tool.

As you can see, it comes with quite a few preset shapes. I did not try the Custom, Background, or Effect tabs. Below you can see me using the frame that looks like a Polaroid photo.

Here, I’ve dragged an octagon onto the photo. You can see three drag handles in the corners and a delete button in the upper left. In the second shot, you’ll see I’ve manipulated the size and position of the shape.


There is, of course, a sharpen filter. I found that it was hard to over-sharpen the image, which is good. Many of the app’s users will likely be inexperienced and thus prone to being a bit heavy-handed (or heavy-fingered, as the case may be). Note that I have also changed the color and opacity of the octagon shape.

The Pencil filter gives the image the appearance of being drawn in pencil. The effect was not very interesting with our enchiladas, but probably would be with a more suitable source image. The Effect filter allows one to produce a sepia, color negative, or false-color image. The false-color effect is similar to what you would see from a thermal camera. (No effects applied in the photo below)

Moving on, this is the straighten tool. The straighten tool conveniently provides a grid for judging straightness and the rule-of-thirds intersection points. This is a nice touch.

Cropping is an important feature in any image editor, and Photogene provides a crop tool. In the image below, I have selected the tool and am looking at the initial (default) crop area.

As you can see, there are presets for common aspect ratios. The following shot also shows the helpful rule-of-thirds grid and pixel dimension indicator. Those are both thoughtful features.

After canceling the crop operation, I tried a pinch gesture to see if the author had implemented zoom. Indeed, he had.

When you are done editing, touch the checkmark to bring up the save button.

And here we are, the image as saved from Photogene (scaled to 25% to fit this screen).

My overall impression of Photogene is that it is surprisingly full-featured for a version 1.0 product that runs on a handheld device. I did not encounter any crashes or unexpected behavior. I found the crop and straighten icons a bit confusing, but usability was otherwise quite good. The app’s startup time is agonizingly long but, once running, responsiveness was good. I anticipate the author adding a few more features and tools as the app matures, but hopefully he will continue resisting the temptation to cram too many features into the product.
blog comments powered by Disqus
